SmartOS on Alix APU2c2

Over the past few years, I’ve been using SmartOS as my hypervisor of choice coupled with a management layer called Project-Fifo. I have to say, it’s been a joy to work with.

I had a couple Alix APU’s laying around and was curious how well SmartOS would run it.

To begin, I downloaded the SmartOS USB image and pushed onto a USB drive.

wget https://us-east.manta.joyent.com/Joyent_Dev/public/SmartOS/smartos-latest-USB.img.bz2

bzcat smartos-latest-USB.img.bz2 | dd of=/dev/sdb conv=fdatasync

Now,  we can plug the USB drive into the USB port of our APU then power it up. Be sure to plug in your serial cable first so you can see what’s going on.

Soon as you see the GRUB boot menu, press ‘c’ enter the below to switch the console output to ttya from vga. Then hit enter.

variable os_console ttya

After doing the above, you should see something like this

And eventually this. You can now follow along and configure your new SmartMachine.

After networking is all configured, you’ll be prompted to layout a zpool on your disk (hopefully you have an m-sata installed).

Now, just hit enter and be sure to remove the USB drive so SmartOS will boot from the m-sata drive. Eventually, you’ll be presented with the login screen like the below where you can login as root using the password you provided during setup.

Okay, so let’s import a debian dataset and spin up a zone (read: container)

Define the zone config and use vmadm to create it and login!

Cool! A fully functioning Debian 9 container. Let’s setup wordpress and run a load test for funsies.


Now, let’s use Siege to perform some load testing

Not Bad!

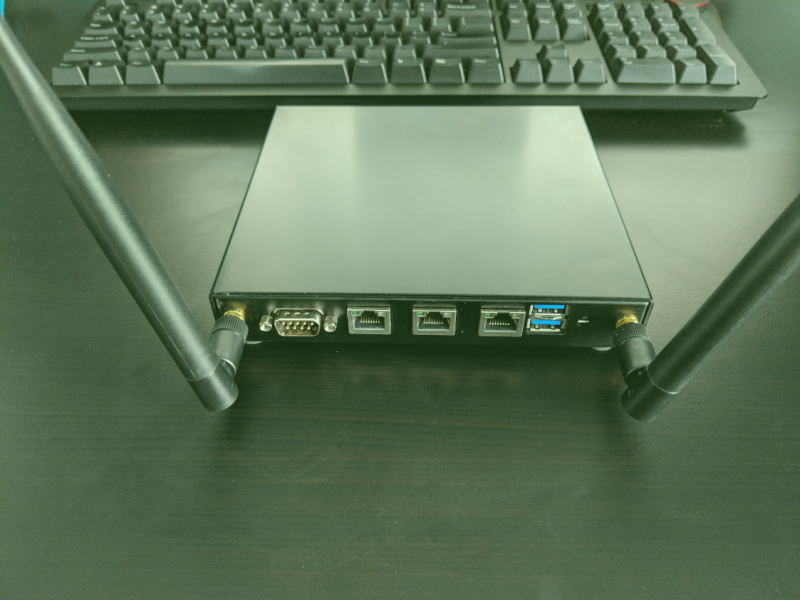
Adding WiFi Card to Alix apu Running pfSense

I always thought it would be neat to manage my home WiFi from the same interface as the rest of my network. After eyeing the hardware for a long time and doing some research every couple months or so, I finally made the leap and purchased the necessary hardware.

As I’m using an Alix apu2c2, some initial research showed that the WLE200NX coupled with a pair of 6dBi antennas was the way to go. 

After backing up my pfSense config (ALWAYS make a backup!) I shut it down and cracked it open to install the WiFi card.

This was mostly trivial, note that we use the third (mPCIe 1) slot for this. The first slot is for an mSATA drive.

All set, ready to power up and get it configured!

Head over to Interfaces -> Assignments then down to the Wireless tab. Click Add, select the detected device and set the mode to ‘Access Point‘. Then, click Save.

Head back to Interfaces -> Assignments and create a new interface, selecting new WiFi device.


Now, click on the newly created interface (OPT1, likely) and configure it like any other interface. Note, because it’s a wireless interface, you’re presented with a LOT more options as your scroll further down. Here’s, where you configure Channel, SSID, WPA2, etc…

Once you have everything configured, head over to Services -> DHCP Server and configure the DHCP server for your new interface.

Okay, just about done. All we have to do now is let traffic pass through the interface. To do so, head over to Firewall -> Rules and click your new WiFi interface. Below, you see I just added a quick ‘Allow All’ rule to make sure everything works as expected.

Testing this with both my phone and my laptop, I couldn’t be happier with the results!