I always thought it would be neat to manage my home WiFi from the same interface as the rest of my network. After eyeing the hardware for a long time and doing some research every couple months or so, I finally made the leap and purchased the necessary hardware.
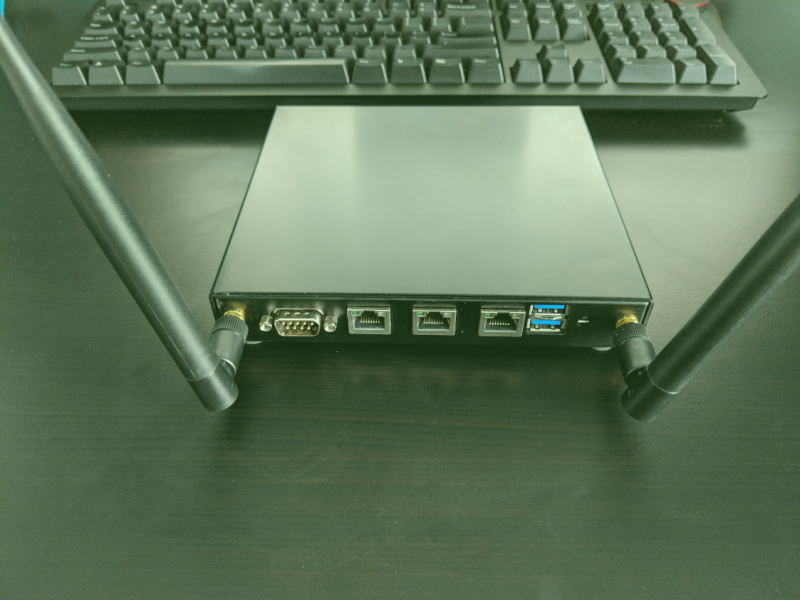
As I’m using an Alix apu2c2, some initial research showed that the WLE200NX coupled with a pair of 6dBi antennas was the way to go.
After backing up my pfSense config (ALWAYS make a backup!) I shut it down and cracked it open to install the WiFi card.
This was mostly trivial, note that we use the third (mPCIe 1) slot for this. The first slot is for an mSATA drive.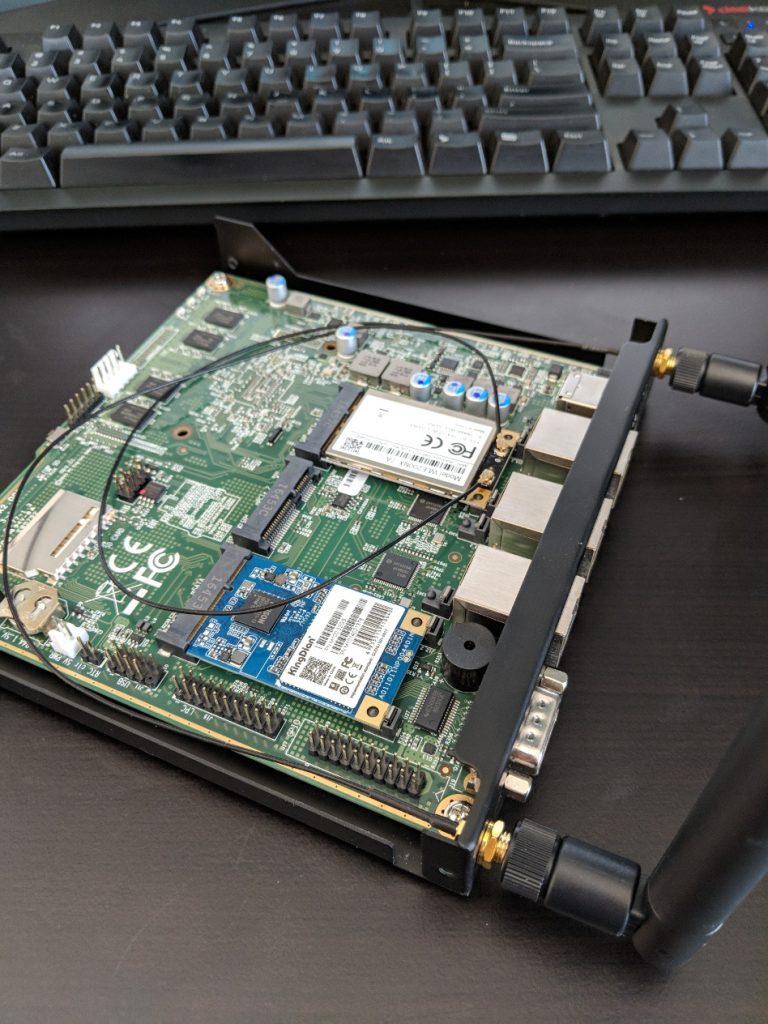
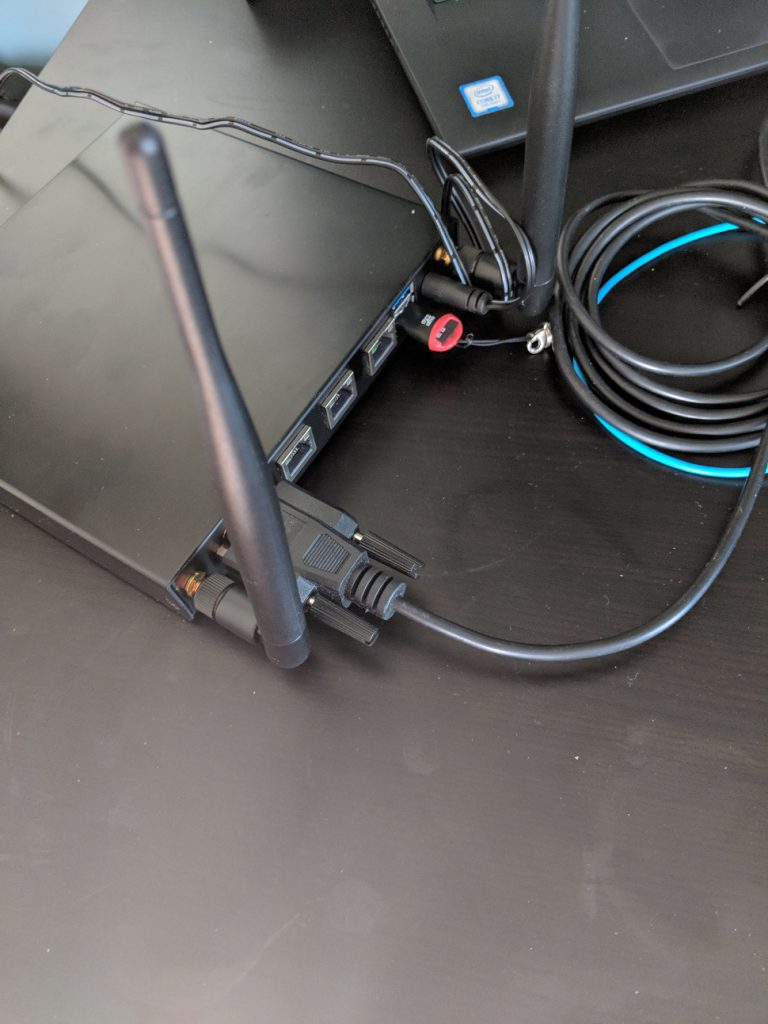
All set, ready to power up and get it configured!
Head over to Interfaces -> Assignments then down to the Wireless tab. Click Add, select the detected device and set the mode to ‘Access Point‘. Then, click Save.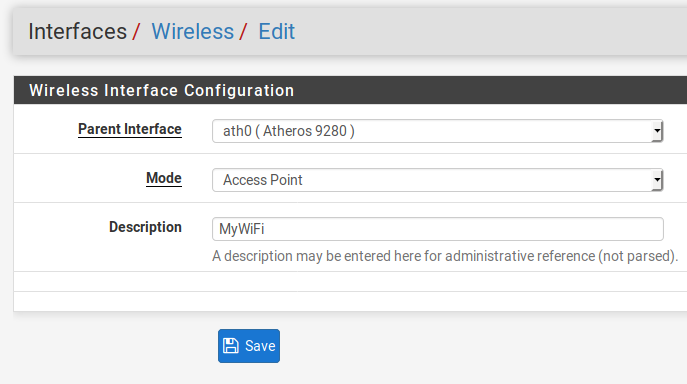
Head back to Interfaces -> Assignments and create a new interface, selecting new WiFi device.
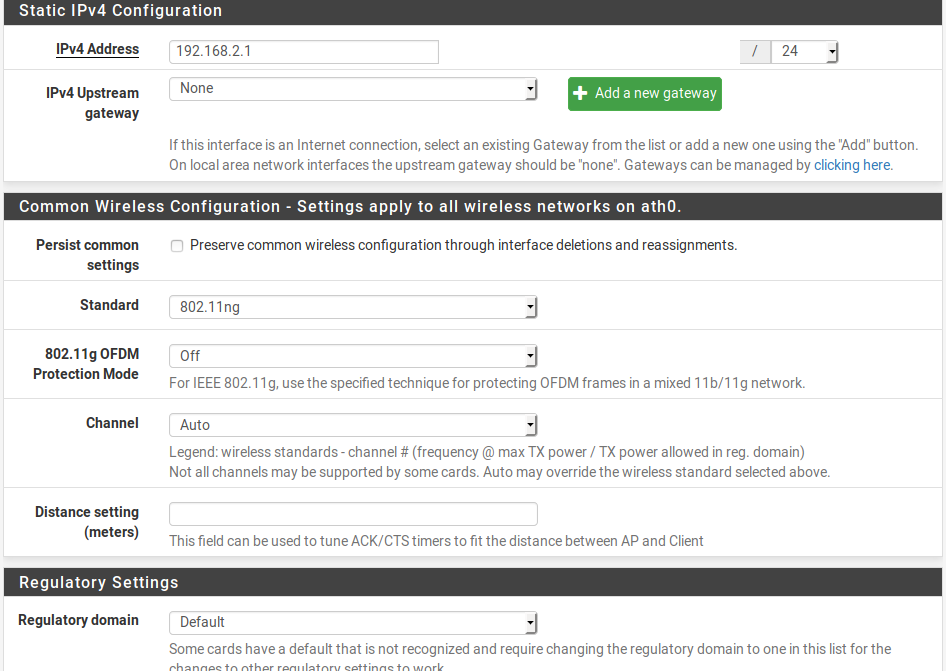
Now, click on the newly created interface (OPT1, likely) and configure it like any other interface. Note, because it’s a wireless interface, you’re presented with a LOT more options as your scroll further down. Here’s, where you configure Channel, SSID, WPA2, etc…
Once you have everything configured, head over to Services -> DHCP Server and configure the DHCP server for your new interface.
Okay, just about done. All we have to do now is let traffic pass through the interface. To do so, head over to Firewall -> Rules and click your new WiFi interface. Below, you see I just added a quick ‘Allow All’ rule to make sure everything works as expected.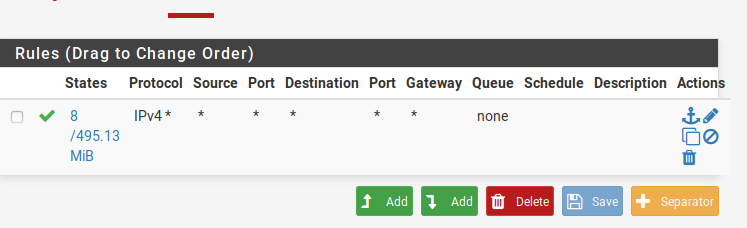
Testing this with both my phone and my laptop, I couldn’t be happier with the results!
Leave a Reply
You must be logged in to post a comment.